Adding a tripod mount to a Eufy camera
I’m a big camera nerd, no matter the format. As a result, I have a lot of Internet-connected cameras. One such camera, the Eufy Solo IndoorCam C24, is quite good. This camera is around $30 and has great features: pet detection, sound detection, RTSP streaming, and local storage. Unfortunately, it has a huge base/mount that isn’t quite compatible with how I want to use it.
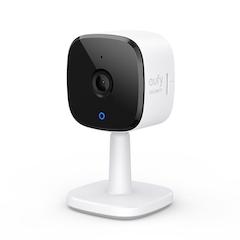
Here’s what the camera looks like out of the box:
While the stand can be articulated in many directions, it isn’t as convenient as the articulating and magnetic mounting base on Wyze cameras. It’s also not offered in a solid black color, which means if you’re using it outdoors (even though it’s an indoor cam, it’ll work fine if not directly exposed to water) it isn’t particularly covert.
Inspired by some posts I saw on /r/EufyCam, I decided to remove the stand and replace it with a tripod mount. It turns out this was super-easy to do.
In summary: I’m removing the stand, trimming some plastic, widening the hole the stand used to occupy, and using a soldering iron to heat a tripod bushing so it melts the plastic, allowing the bushing to snugly seat flush with the camera body.
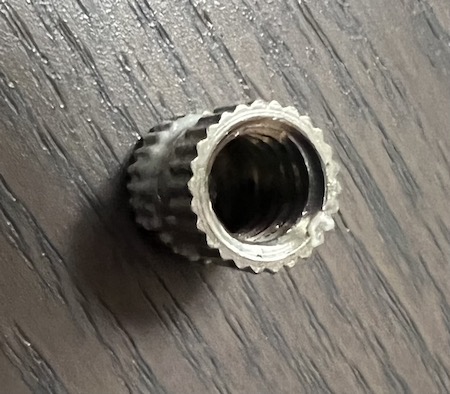
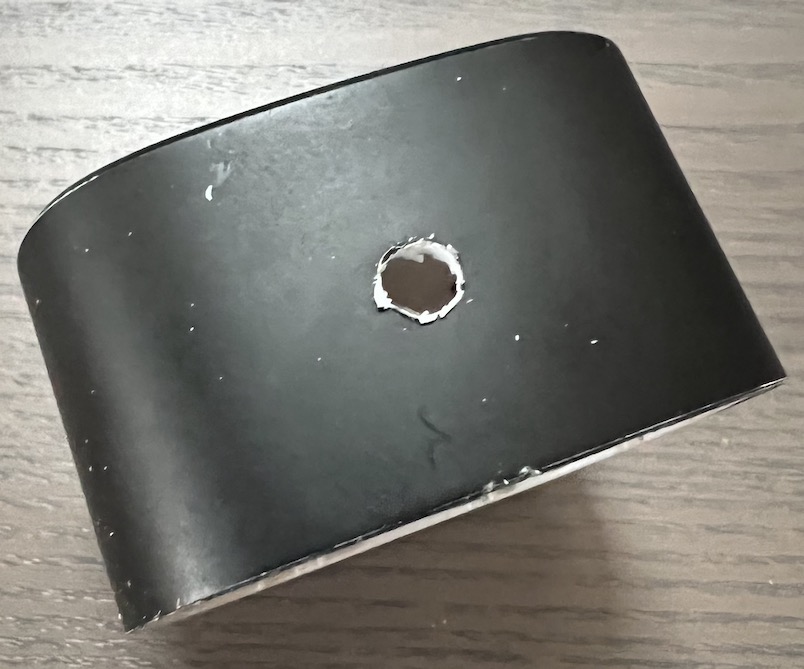
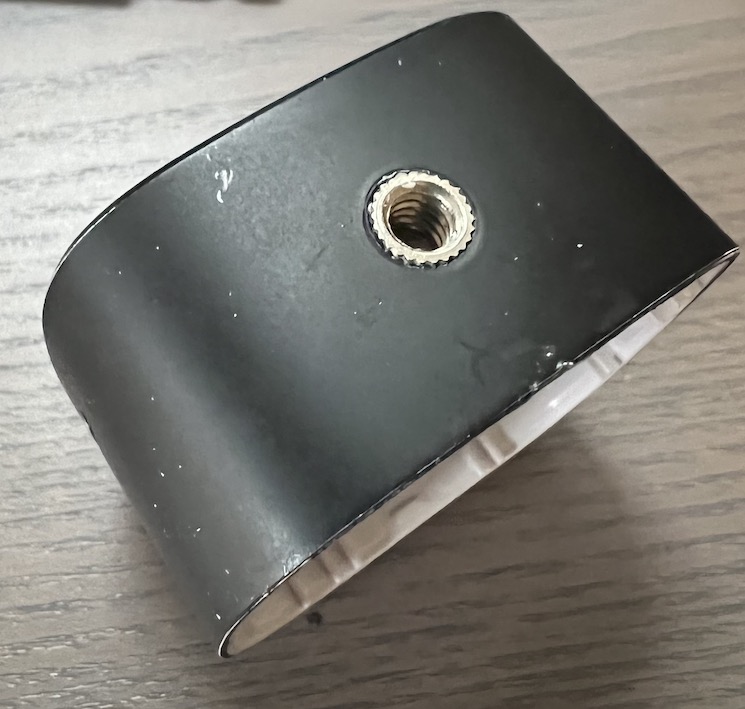
- Find a tripod bushing. Home centers might have them, or you can order one online. I happened to have one I salvaged from a broken noise level meter that looks like this:
- Remove the SD card, if you have one installed. This is important! If you don’t, you’ll damage the camera.
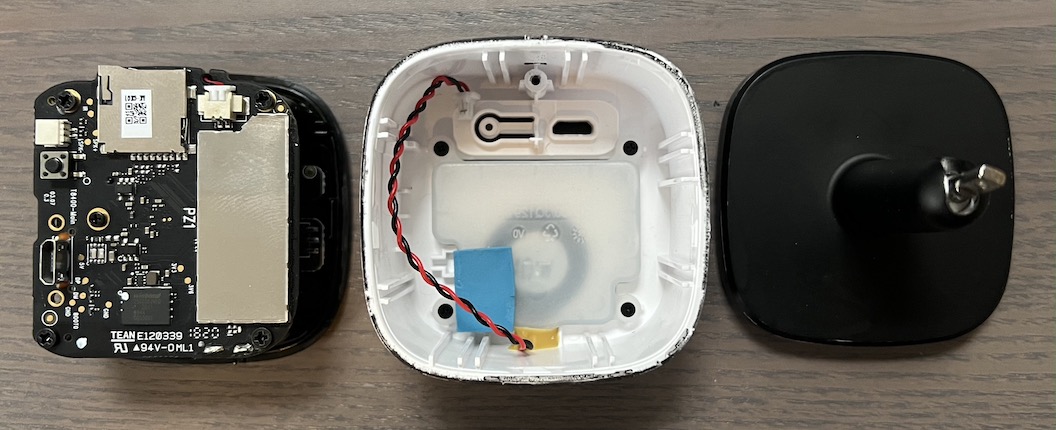
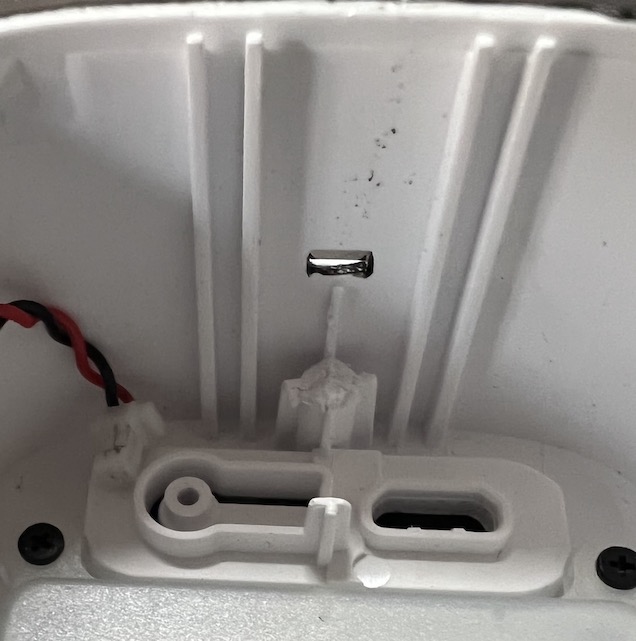
- Open the case. There’s a small recessed area at the bottom of the camera between the black camera face and the white base. Pry gently with a screwdriver or a spudger. Once you have the front part open, carefully remove the braided red and black speaker wire from the camera board.
- Unscrew the stand from the case. It’s secured by one small screw. Here’s what you’ll be left with; my case and stand have previously been painted black, so yours will likely be white:
- Trim the pedestal inside the speaker portion of the case where the stand used to attach. This is to allow clearance for the tripod bushing:
- Widen the hole previously occupied by the stand. Choose a drill bit smaller than the diameter of your bushing. It’ll look something like this:
You will get little chips of white plastic residue everywhere, so have a vacuum handy!
- Sink the tripod bushing into place using a soldering iron. You’ll hold the bushing with a pair of needle nose pliers while you heat the bushing. Once the bushing heats and you feel the plastic soften, remove the iron and use your pliers to gently seat the bushing into place. The residual heat will allow you time to position it flush and make any minor corrections. Once complete, it’ll look like this:
While you could button up the case and call it done at this point, I wanted to add a little more strength to the tripod bushing because it’ll likely be screwed on and off a few times, and that type of stress is likely to weaken the plastic. I slathered the bushing with fast-drying epoxy.
Once the epoxy is dry, you can reassemble the camera. There should be enough clearance to do so without modifying the camera board. If you feel resistance, see if your bushing is too tall or if there’s plastic residue that needs to be trimmed off.
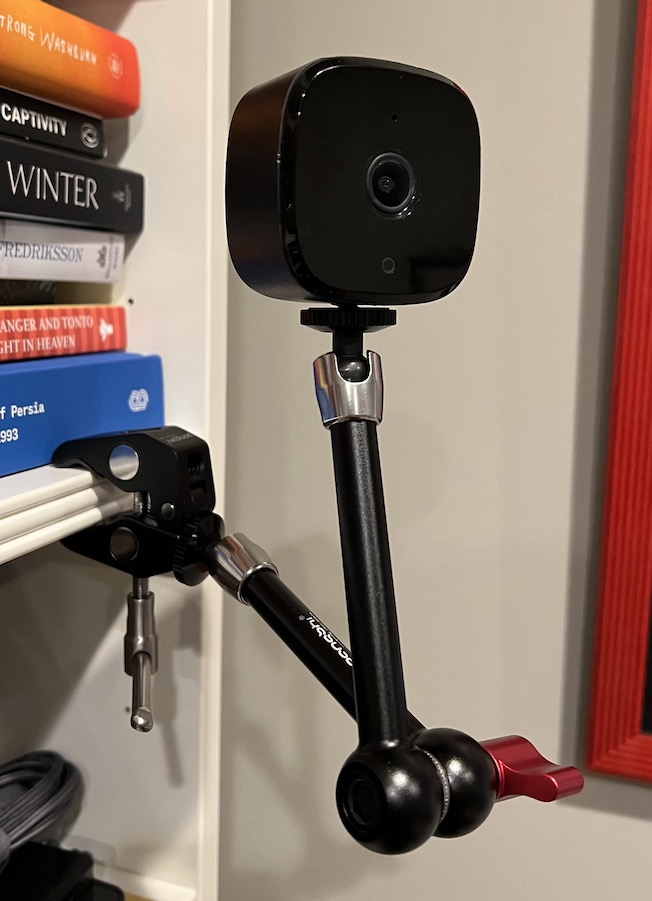
Here’s the final product, attached to an articulating ball joint arm and clamp: